This article shares step-by-step instructions for how to cover a lamp shade with pleated fabric.
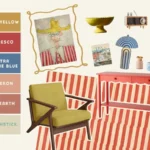
There’s something so charming about a pleated lampshade — it feels a little old-fashioned in the best way. This DIY version lets you customize it with any fabric you love (patterned, solid, vintage scrap — anything goes).
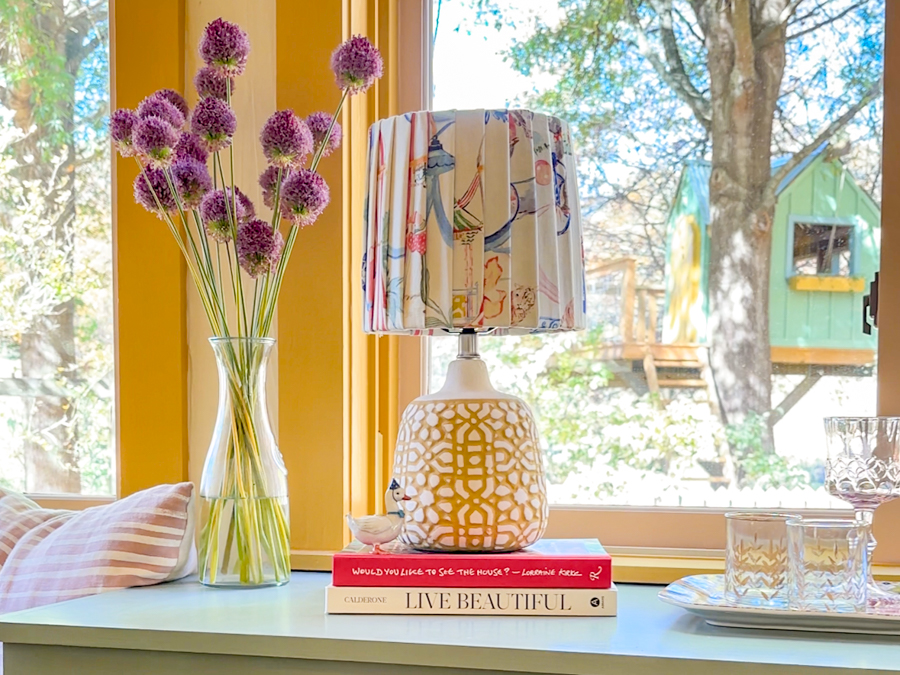
It’s quick and easy and so satisfying when you set that lamp on the shelf or side table!
Materials You’ll Need
- Lamp with a flat, round shade
- Fabric that fits your color palette (scraps work great too!) — we used this fun circus fabric!
Tools You’ll Need

Step-by-Step Guide
How to make a pleated lamp shade
1. Pick your fabric
Choose a fabric that fits your space — maybe a fun print, a soft linen, or a leftover bit from another project. Pleats love a little texture and personality! My advice? Have fun with it!
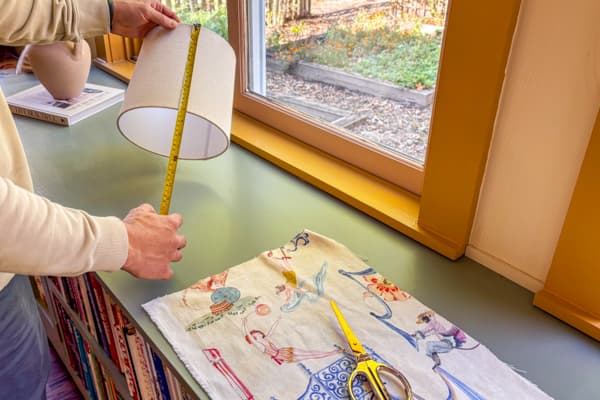
2. Measure Your Fabric
You’ll want to make sure your material is long enough to make two full pleats around your shade. To do this, cut a piece of fabric that’s about three times the height of your lampshade, plus two inches to wrap around and glue.
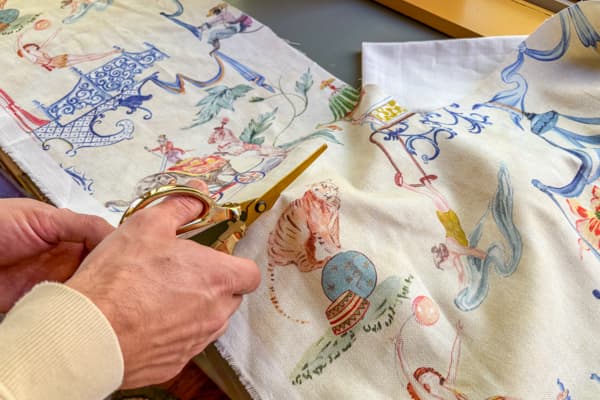
3. Cut Into Strips
Cut your fabric into 2½-inch-wide strips — these will form the pleats.

4. Fold and Seal
Fold each strip in half lengthwise and run a thin bead of hot glue between the fold at each end to seal it. This will make sure it stays in place.

5. Start Attaching Your Pleats
Glue one end of your first strip to the inside top edge of the shade. This hides the raw edge and keeps things neat
5. Wrap Your Pleat
Bring the strip over the top and around the outside of the shade, looping it through the inside as you go.
Let the fabric naturally pleat and overlap a bit and keep the pleats as evenly spaced as possible for a uniform look.
Don’t worry about the exposed edge– you’ll cover it with the next pleat!

6. Secure The Bottom Edge
Glue the other end of the strip to the inside bottom edge of the shade. Keep the fabric taught so the pleats stay crisp.
7. Repeat All The Way Around
Continue wrapping and gluing strips until you’ve made it around the whole shade, adjusting the spacing as needed. Step back every few pleats to make sure everything looks okay.
8. ReAssemble Your Lamp
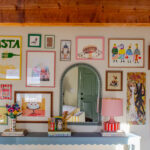
Once you’ve fully wrapped the lampshade, just pop it back onto your lamp and find a good place for it! Try it in a cozy corner, on a nightstand, or beside your favorite chair.
The pleats add just enough texture to make the whole lamp feel special and handmade.
I hope this tutorial was helpful– if you’re anything like me, you’ll immediately start looking around the house for more lamps to cover!