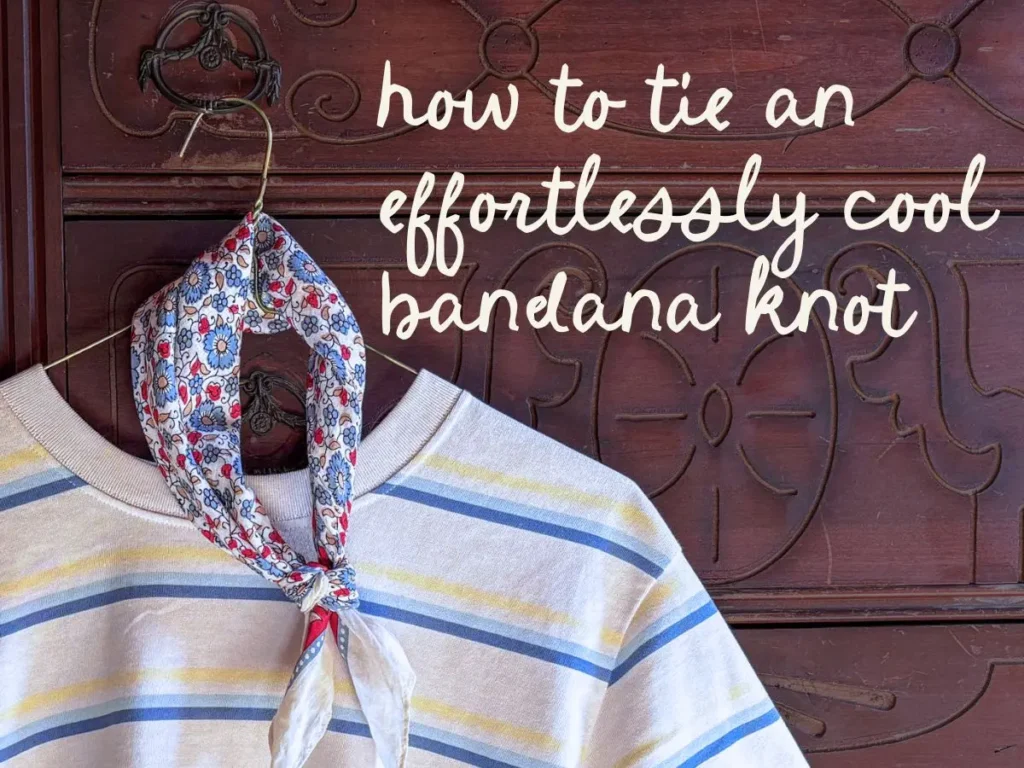
Tying a bandana can be surprisingly tricky if you want it to look casually stylish instead of costume-y. It took a while, but I found a simple way to fold and tie it that achieves that perfectly undone knot. I’ve detailed the whole process for you— from the initial fold to the final tug— in this post!
Psst: Don’t let the length of this tutorial scare you off! I promise this method is quick and easy. I just tried to be super explanatory so you know exactly what to do at every point.
A Quick Note On buying Bandanas
Not all bandanas are created equal! I like the softer almost vintage-like ones. My personal favorites and the easiest to tie for me are from Sezane. And they aren’t ridiculously priced!
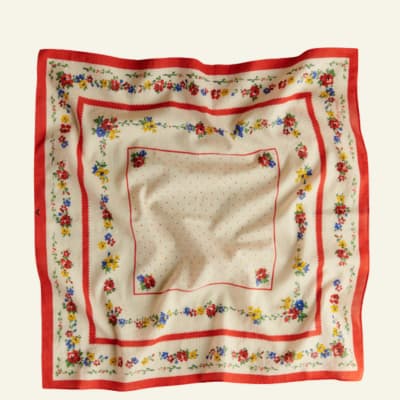
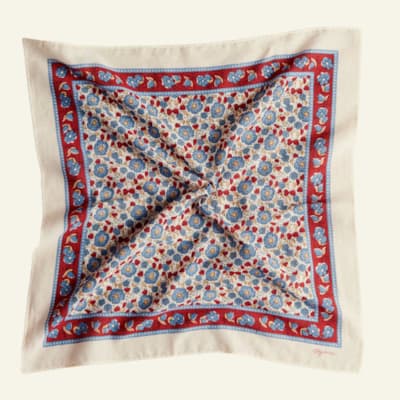
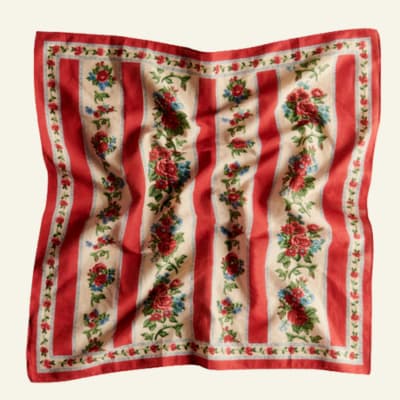
As far as patterns go– I love the Vintage Ecru Flowers one and wear it a lot! I’m also very into the Margaret print (I think it would be such a welcome pop in color in winter!) and the Bella just came back in stock this week and she’s perfect! I was on the mailing list to be alerted when it was abailable again and have been waiting months.
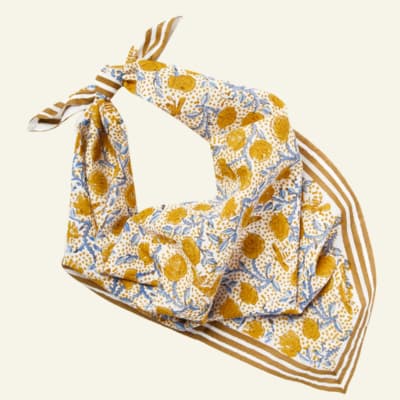
I love the patterns and colors at Block Shop Textile. I have the Roses one and it’s a perfect mustard.
How To Tie A Bandana
Step 1: The Initial Fold
The key to preventing messy, flapping edges around your neck is in the initial fold.
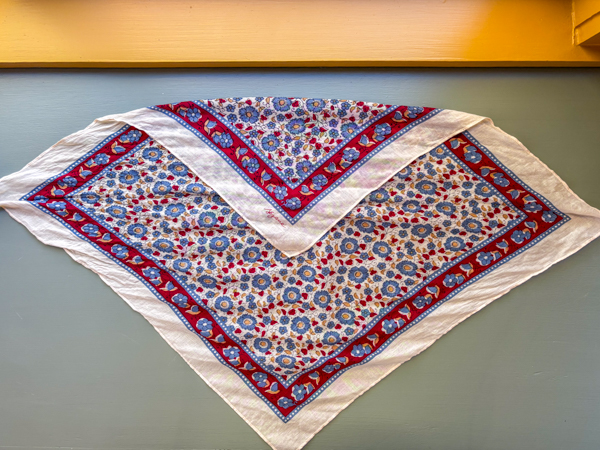
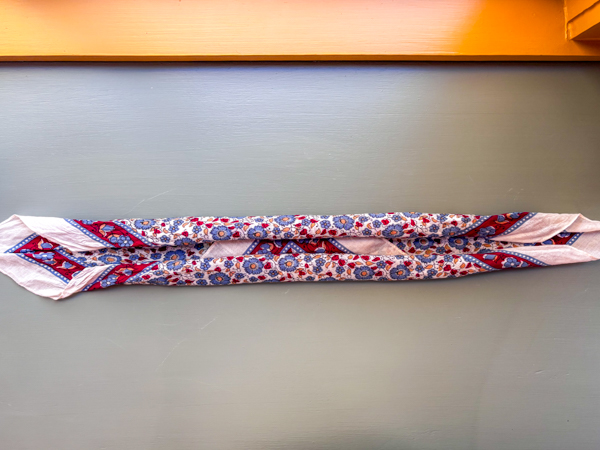
- Start flat: Lay your bandana flat on a surface, pattern-side down.
- Hide the corners: Take two opposite corners and fold them in toward the center by a few inches. This turns your square into a neater rectangle. The goal here is to hide the loose, pointy edges that tend to stick out when you tie it.
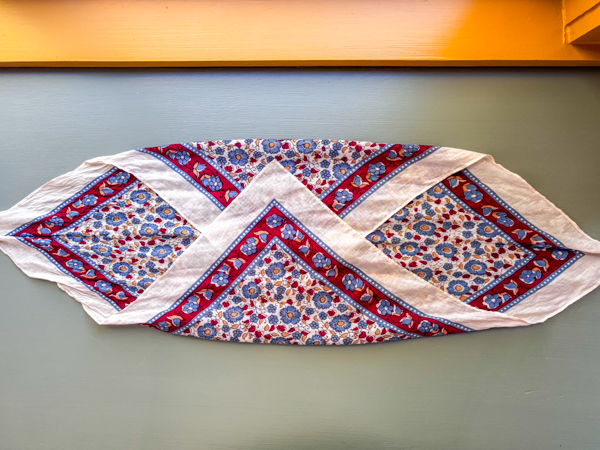
- Create a strip: Starting from the top, fold the edge down about one inch at a time toward the middle. Repeat this process from the bottom edge.
- Final Fold: Fold the top edge over the bottom edge. You should be left with a long strip that’s about 1-2 inches wide.

Step 2: Add the Texture (The “Effortless” Trick)
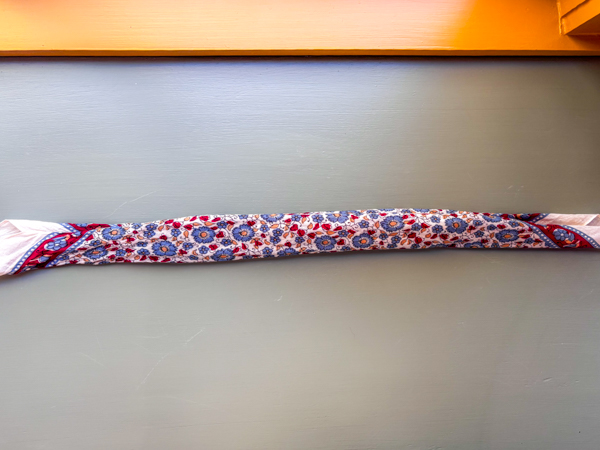
A perfectly straight strip screams “tried too hard.” You need to introduce a bit of chaos!
Take your neat strip and twist it gently in your hands a few times. Don’t go crazy, but twisting it just enough ensures the fabric lays more organically and gives it that beautiful, textured, undone look.

Step 3: Tie the Initial Knot
Instead of trying to tie the knot on your neck, we’re going to create the basic shape beforehand.
Don’t tighten it! Keep the knot loose enough that you can easily slip the other end of the fabric through the loop—this is crucial for adjustment later.
Tie a loose loop: On one end of the strip, tie a loose, simple overhand knot a few inches from the very tip.

Step 4: Secure and Adjust
Now that your bandana has the perfect shape and a starting knot, it’s time to put it on!
Drape it: Drape the bandana around your neck, so the knotted end is resting comfortably on one side.
Slide it through: Take the untied, loose end of the strip and slip it through the loop of the loose knot you just made.
Tighten and adjust: Now, pull the main knot tighter and adjust the position on your neck until it feels comfortable and looks cool. You can slide the knot to the center, off to the side, or higher up—whatever feels right for your outfit!
And that’s it! You’ve successfully created a bandana look that is relaxed, cool, and totally effortless.